
Brace yourselves I am about to gush about my husband! Not only is he the love of my life, an amazing husband, fabulous dad and my best friend, but he is also really really handy with power tools. In this case a saw to be exact! You may recall the post I did about my beautiful craft table, that he helped with. Well as another Christmas surprise he took the leftover pieces of wood and cut me 4 different shaped plaques! To say the least I was thrilled! I toyed with different ideas on what I would do with these plaques and finally settled on staining them to match my craft table and mod podging family photos on them. What you need is wood plaques, if you don't have extra wood lying around then you can get them at Hobby Lobby for $2.99, Mod Podge (I like the Gloss but you can use Matte), a brush, photos, and stain or paint (whichever you prefer).

I started out by applying two coats of stain (Miniwax Polyshades in Mission Oak) and then let those dry overnight. Then I was ready to start with my photos. I selected the ones that I wanted to use and printed them off of our computer (you could also go to a print shop and get yours printed off in the sizes to match your plaques) and trimmed them to the size I needed. Next your going to podge your plaques. Place your pictures on the podged plaque, but be quick you only have a few precious seconds to get your picture centered and where you want it to be, after that your going to have a mess! Once your picture is in place start working out the air bubbles. I use my fingers and hand to apply pressure and work out all the bubbles (use whatever works for you). On my first plaque I wasn't quite fast enough and ended up with a few bubble I couldn't get rid of but it still looked great and I was pleased with the end product.


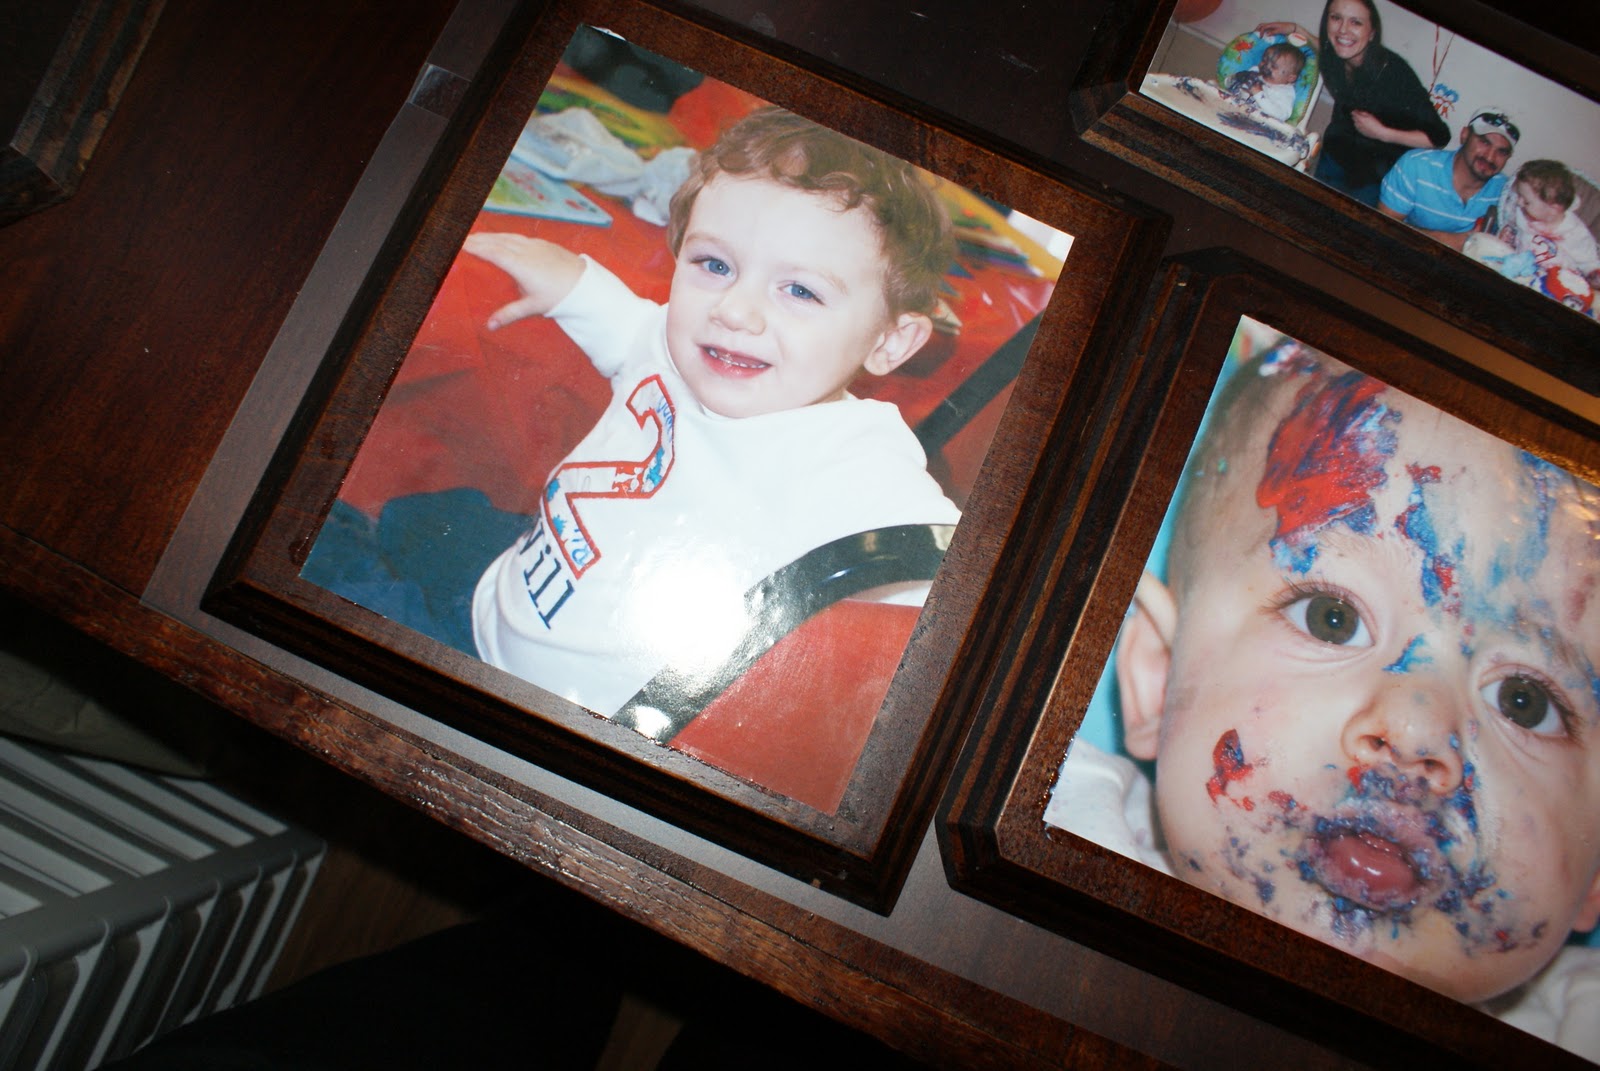
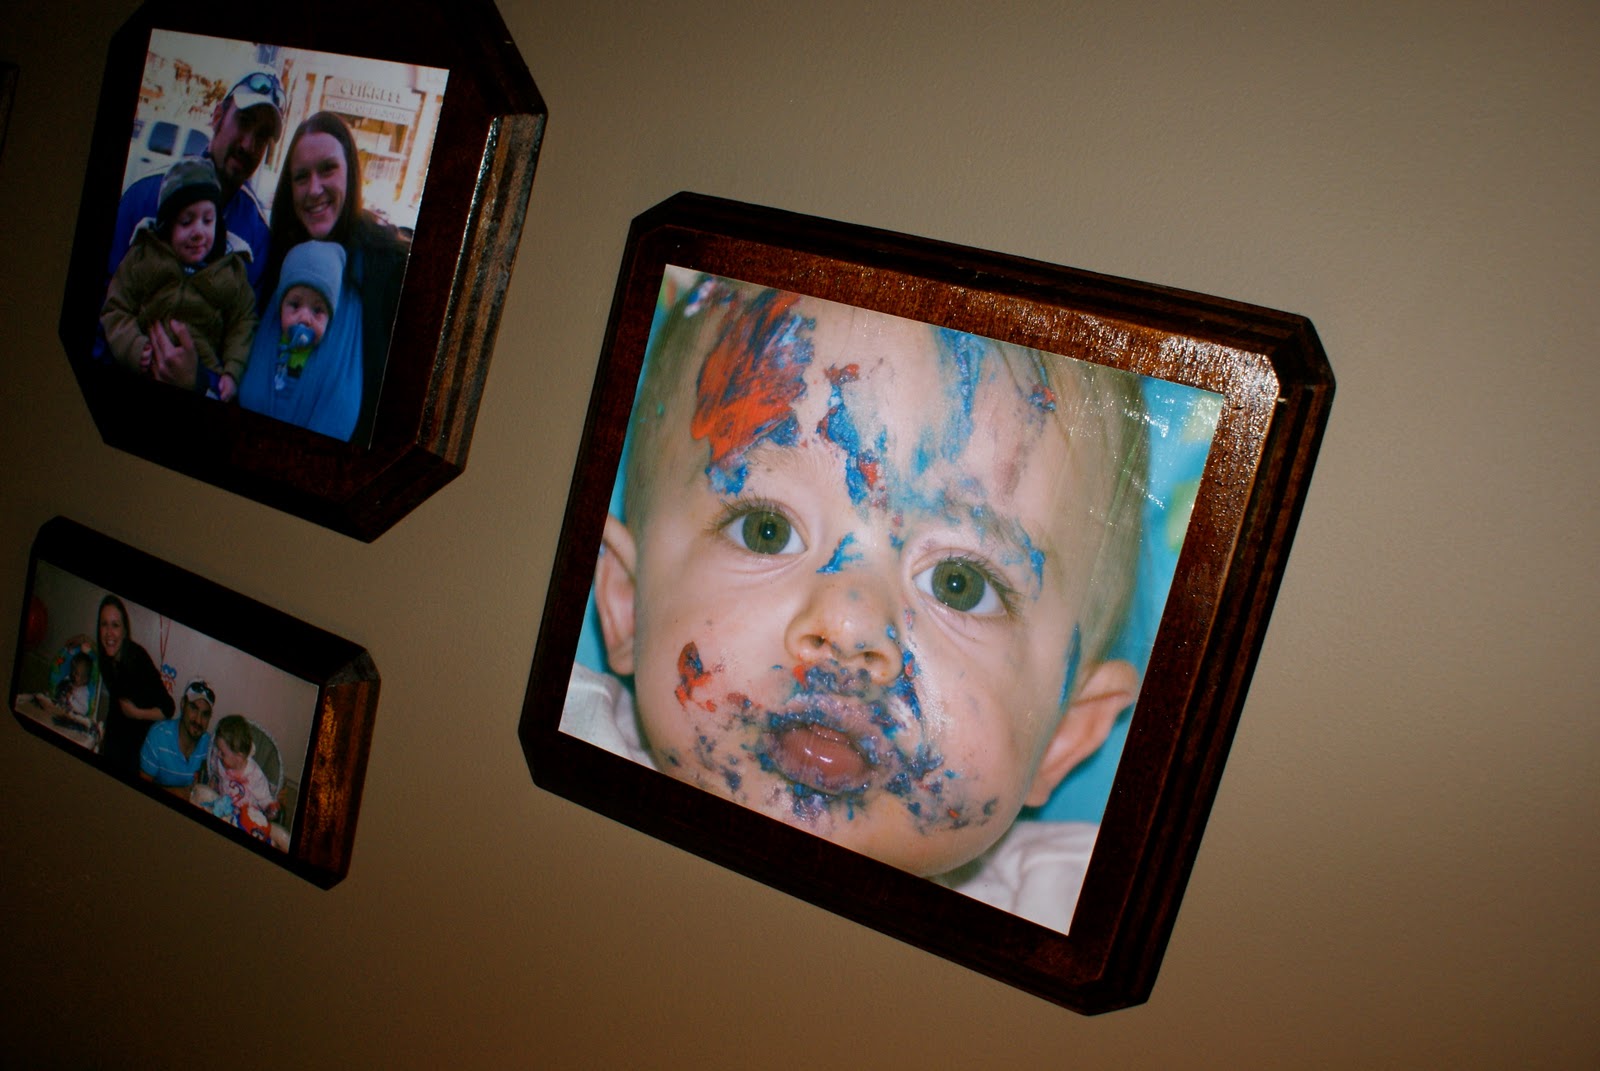
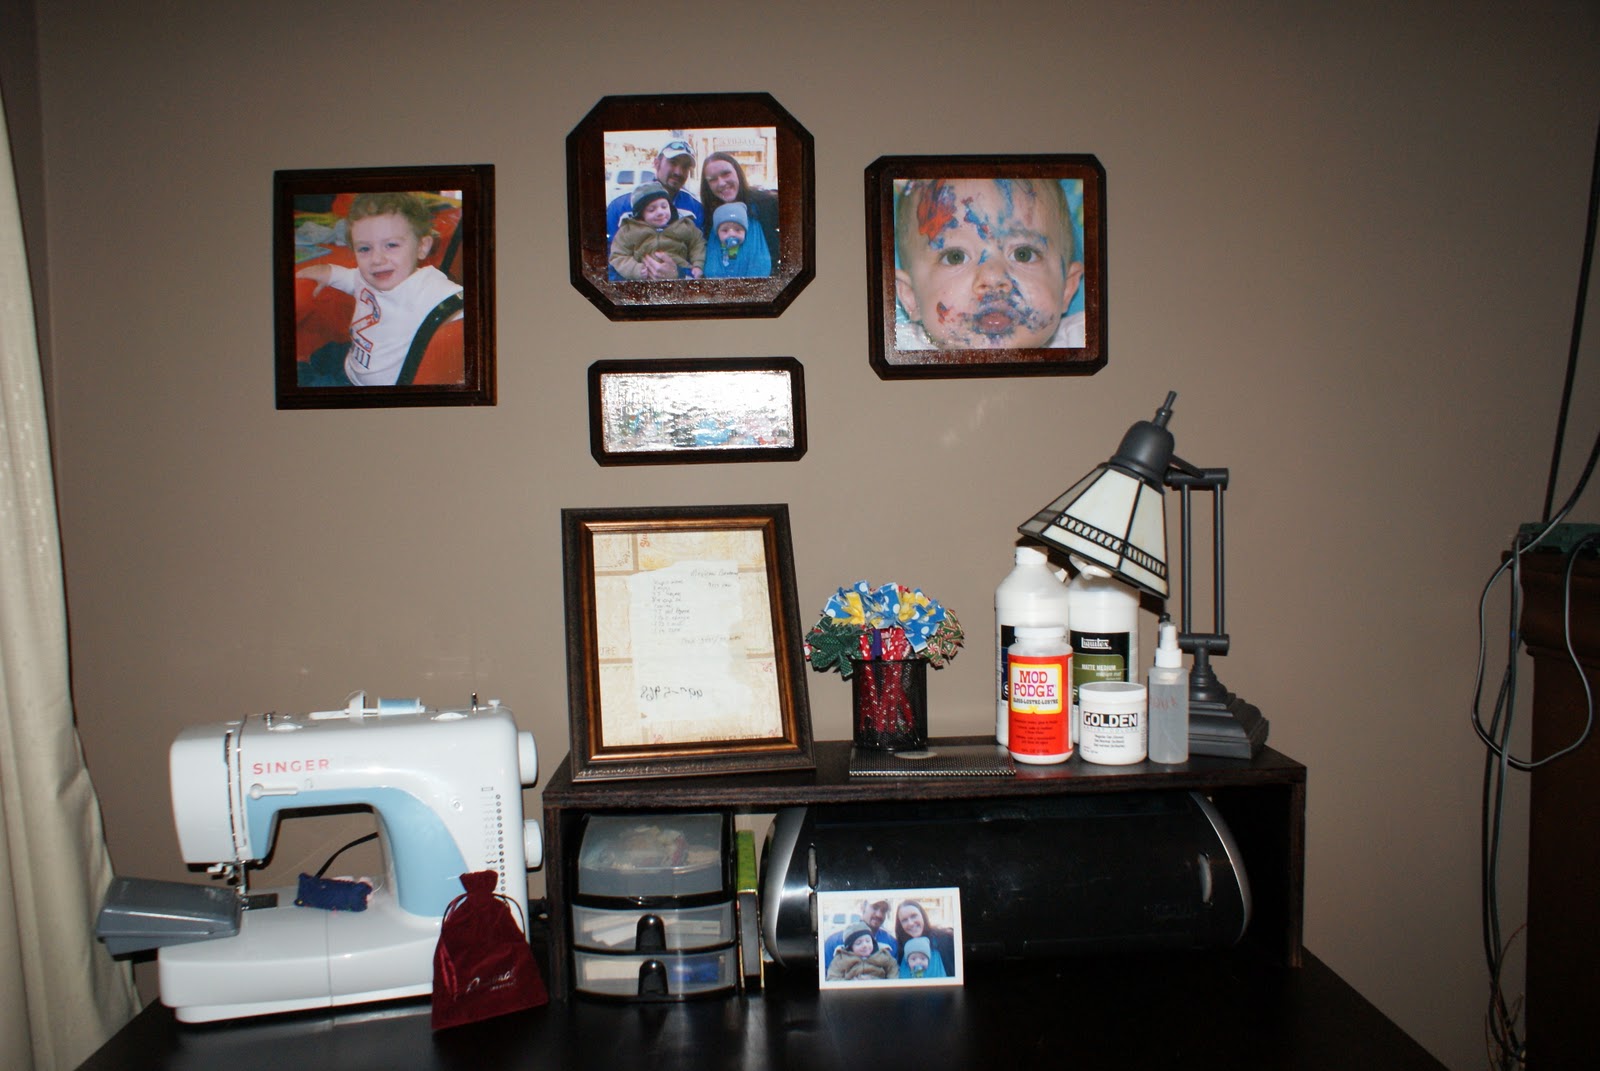
Continue until you have finished all of your plaques (I did 4) and then let them dry for 15-20 minutes. Once dry you can start applying your mod podge on top of the photos. You will need to do around 3-5 coats allowing 15-20 minutes of drying time between each coat. This will help to protect your photos. When you finish with your last coat I usually let my plaque sit overnight to ensure that it is completely dry. To finish you just attach whatever hanging device you like onto the back of your plaque and hang! These also look really good sitting in an easel.

I absolutely LOVE the finish product! I put my plaques above the craft table in our room! Great project and you can really modify it to do just about anything!!
I love this and its very well written. thanks
ReplyDelete